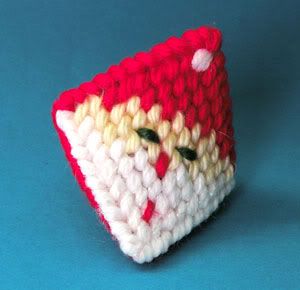
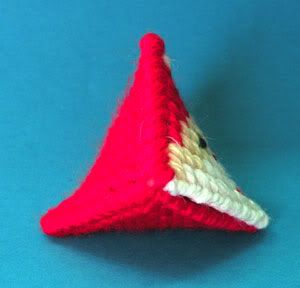
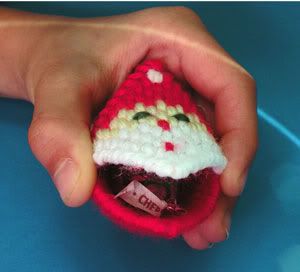
It all started when Mom brought us a Squeeze My Cheeks Reindeer for Christmas. A patient made it, so she only had one, but I have 2 boys (plus the baby, but she's not at the squabble age, yet). I hadn't seen one in years, but I remembered getting them from somewhere... little old ladies at church, maybe the bank? Probably from Grandma - she was always a source of things like that.
Anyway, I needed another one. I looked around online for how to do it, and I found one for
this mouse, but it didn't have pictures and it wasn't the Santa that I remembered from my childhood. So, I had to figure that part out. And once I did, I sewed it together wrong, so I decided to write out how to do it, with pictures, so it might help someone else. And I might need these if we decide to make some more. We probably will because I have a bunch of leftovers, even with having to make 2 to get one sewed together properly.
I didn't even know if they made that plastic canvas stuff anymore, but it turns out they do! You can get it at Walmart - a pack of 6 sheets is only a couple of bucks.
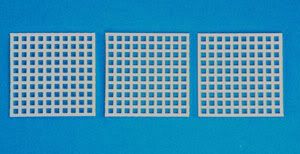
Step one, cut out 3 squares that are 10 squares wide.
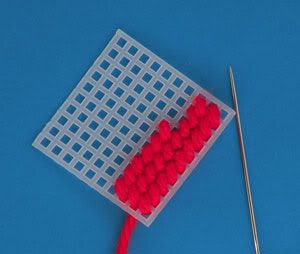
Start filling them in. I found that doing it across the diagonal gave it the best coverage. This is super easy to do. Rowan is 7, and he had a lot of fun filling in one of the squares for me.
You need to make 2 squares in red, and one square in the Santa face pattern. Here's the one that I designed. I think it might look better to use pink for his skin instead of yellow, but yellow is the yarn that I had, so that's what I went with for now.
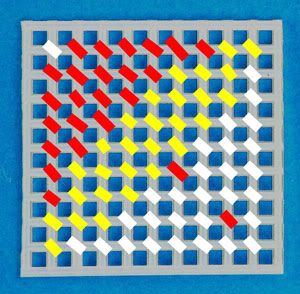
You'll need to use your judgement for eye placement. It looked off when I tried to draw them on there. Or you could use googly eyes. It would be fun to do that and use a small pompom for the top of Santa's hat.
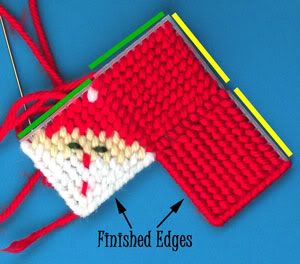
You need to finish two edges of two of the squares so you have a nice opening. This is one of the places I messed up before! I finished the edge that was all Santa beard, and then one edge of each of the other two squres. That's NOT what you want to do. Finish two edges of a red square and leave the other square alone. Make sure you do 2 or 3 stitches in the corners, so the plastic is all the way covered. I did 2 on the sides since they would end up being sewn, and 3 on the corners that would end up being the front.
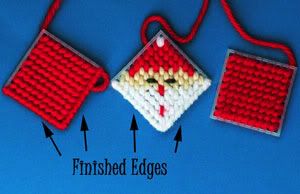
Now it's time to sew it together. I really don't know how to explain it well, so have another picture.